Are you already thinking about what you’d like to grow next spring? Fall is on the way, and many outdoor gardens are winding down. Maybe you got a rough start to this year’s garden, and you’d like to do a better job next time around. Or maybe you just want to try something different from what you grew this year.
If you’ve ever wished you were one of those people who started out the year with a garden that is already ready to plant and starts off looking fabulous, then you’ve come to the right place to learn. You’re about to discover some easy strategies that allow you to get a headstart on next spring’s garden, right now.
The good news is that these tips can be used by anybody, even gardening beginners. But intermediate gardeners will likely learn a few tricks too. Let’s get started with how to prep next year’s garden.

Step 1: Prepare your grow bed
Many people who are new to gardening don’t even realize that they need to do this step in advance. Technically, it’s optional, but it will make planting much easier.
What we’re talking about here is a no-till garden bed. With this method, you don’t have to dig up grass and weeds at all.
So, the first thing you need to do is select the area you’re going to plant in the spring. Measure off the exact space. And clear the area of any objects that will be in the way, like large rocks or debris. If grass and weeds are especially high, mow the area before proceeding.

Step 2: Stop weeds without pulling them up or using chemicals
After your area is marked off and cleared, grab a few supplies:
- Cardboard
- Compost
- Mulch
Cover the entire garden area with sheets of cardboard, overlapping the edges a bit to make sure no areas are left exposed. Then, wet the cardboard thoroughly to help it start to break down. The cardboard is there to block sunlight and kill off grass and weeds.

Step 3: Feed your soil
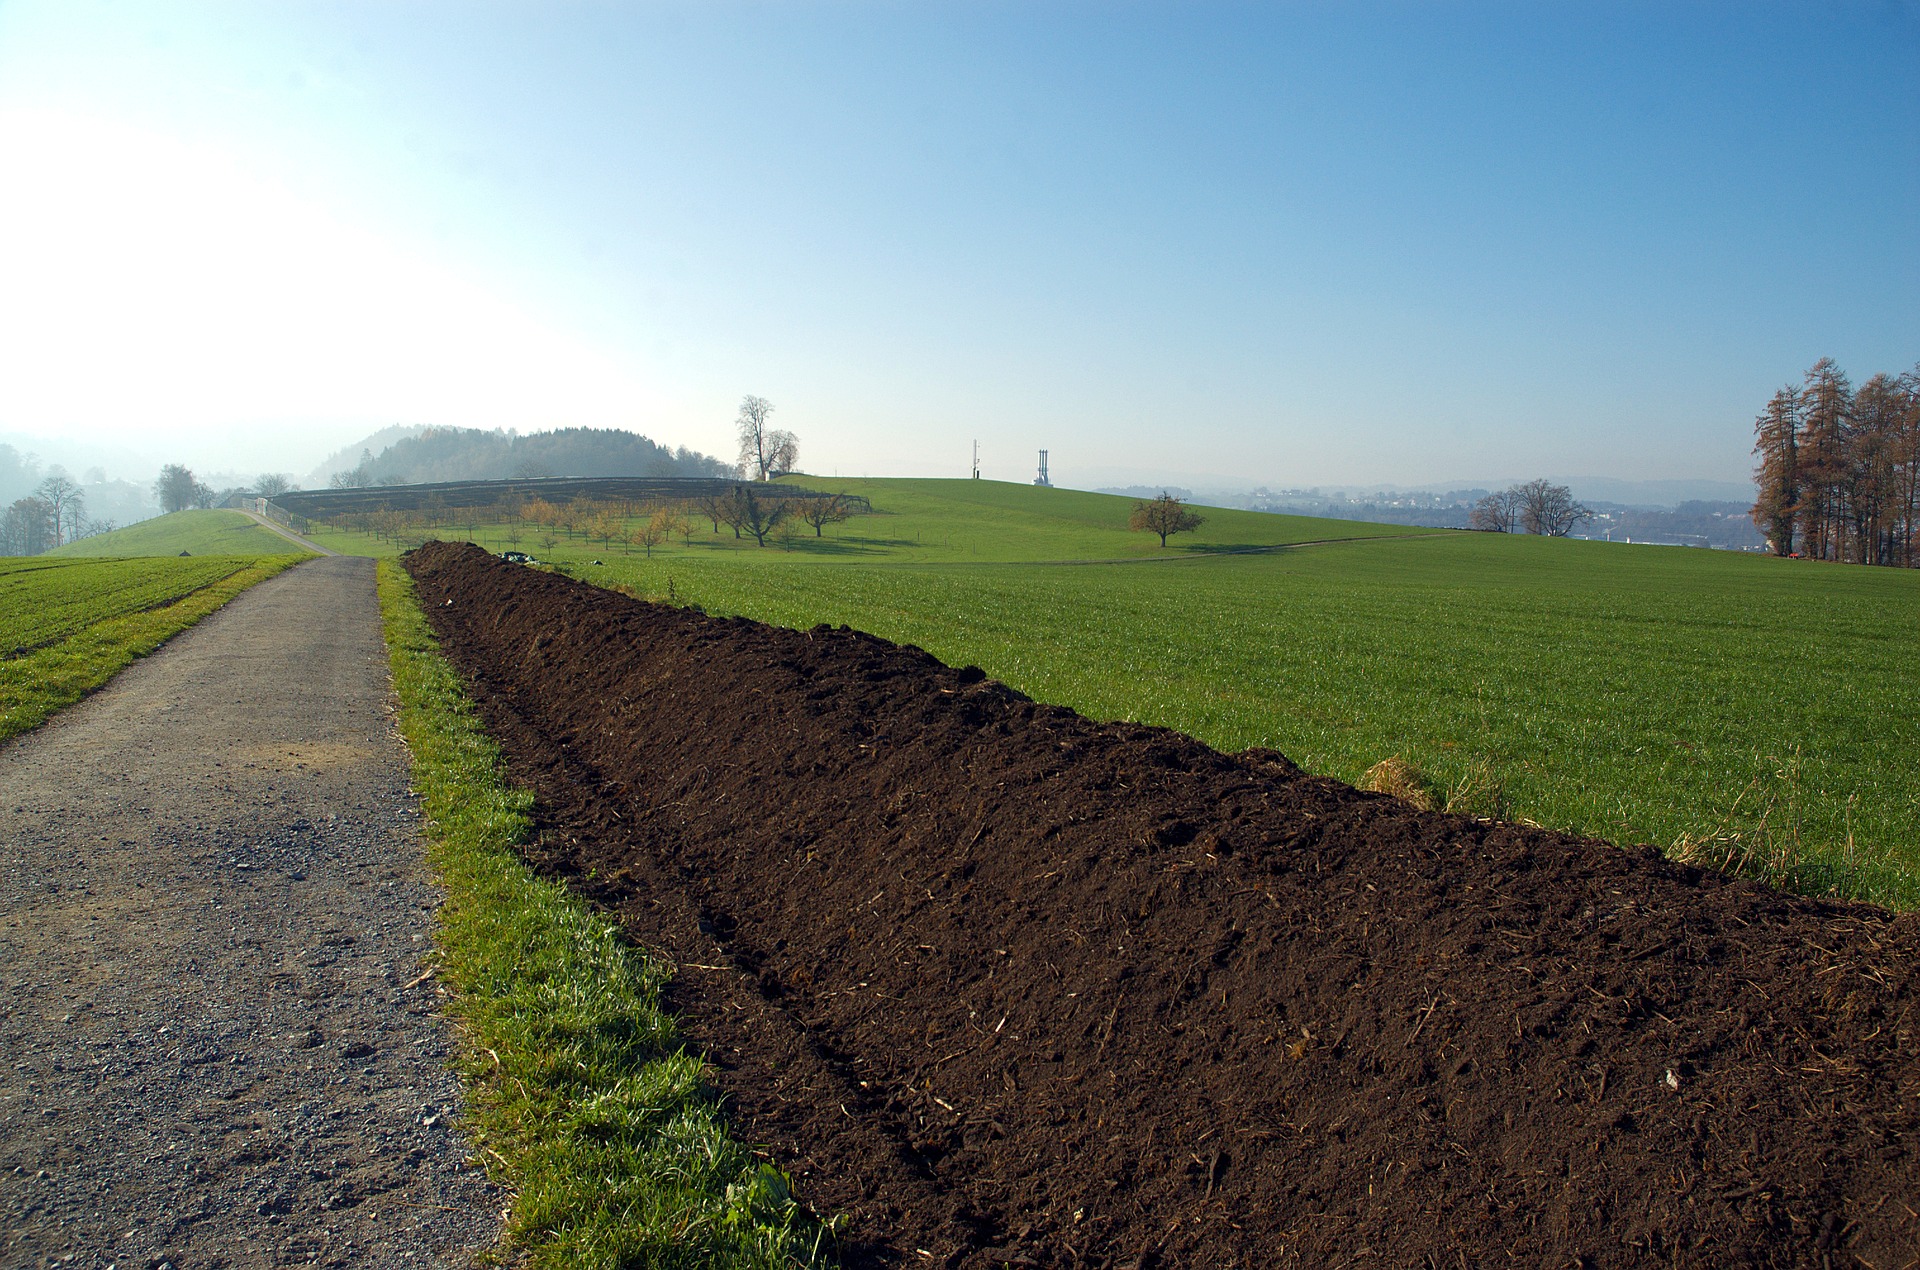
Top the cardboard with several inches of quality compost. You can use your own compost if you have some. This gives your soil a nutritional headstart. You can also add any additional nutrients your soil needs at this time.

Step 4: Protect your hard work
Okay, so let’s be honest, this was a lot easier than tilling and mixing in new soil right before planting. Also, the nutrients have more time to enrich the soil with this method. Basically, you just let the area sit over the winter now, and when you are ready to plant next season, the soil will be rich and weed-free.
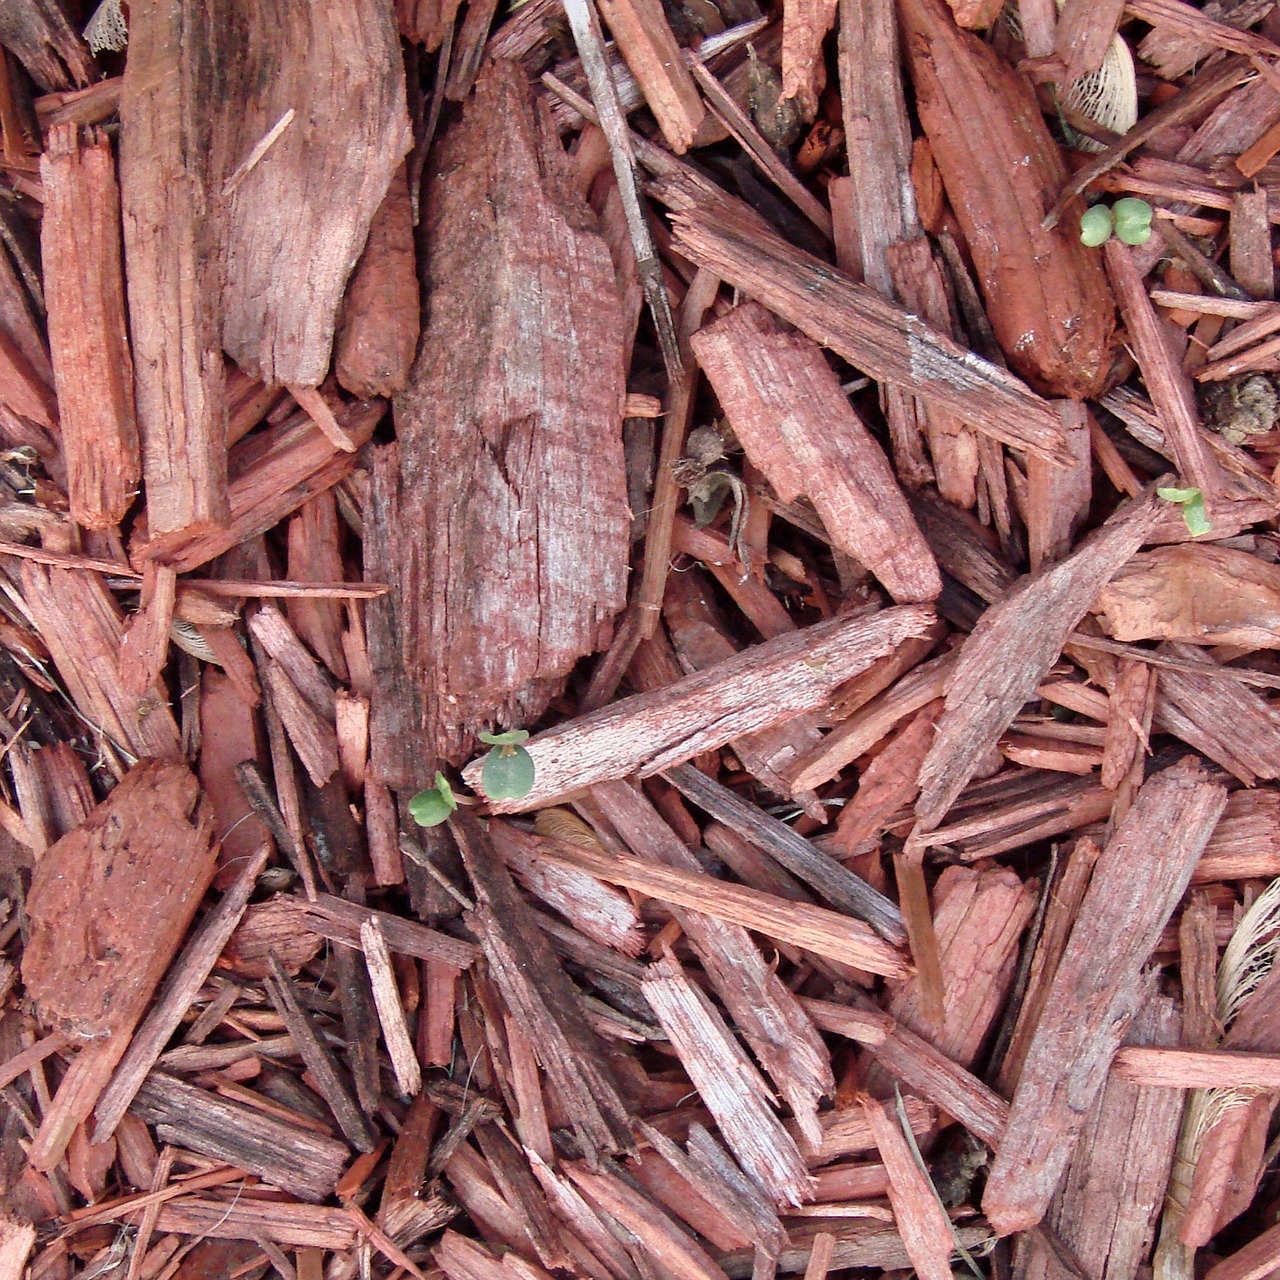
There’s one final step though, to protect the work you put in. Cover the garden bed with mulch. The mulch prevents rain and wind from washing the soil away. As the mulch breaks down, just replace it with a fresh layer.
Read through our other articles to learn more about composting and soil nutrients.
